The dreaded blinking light or sudden “no atomizer” warning on your vape happens unexpectedly: you charge it, you take a puff and nothing.
Instead of smooth vapor, you get flashing lights or an empty draw.
This issue doesn’t always mean your device is broken. In most cases, it’s a communication error between your vaping device's atomizer and battery.
With the right troubleshooting steps, you can easily restore performance and extend your device's lifespan, without needing a replacement.
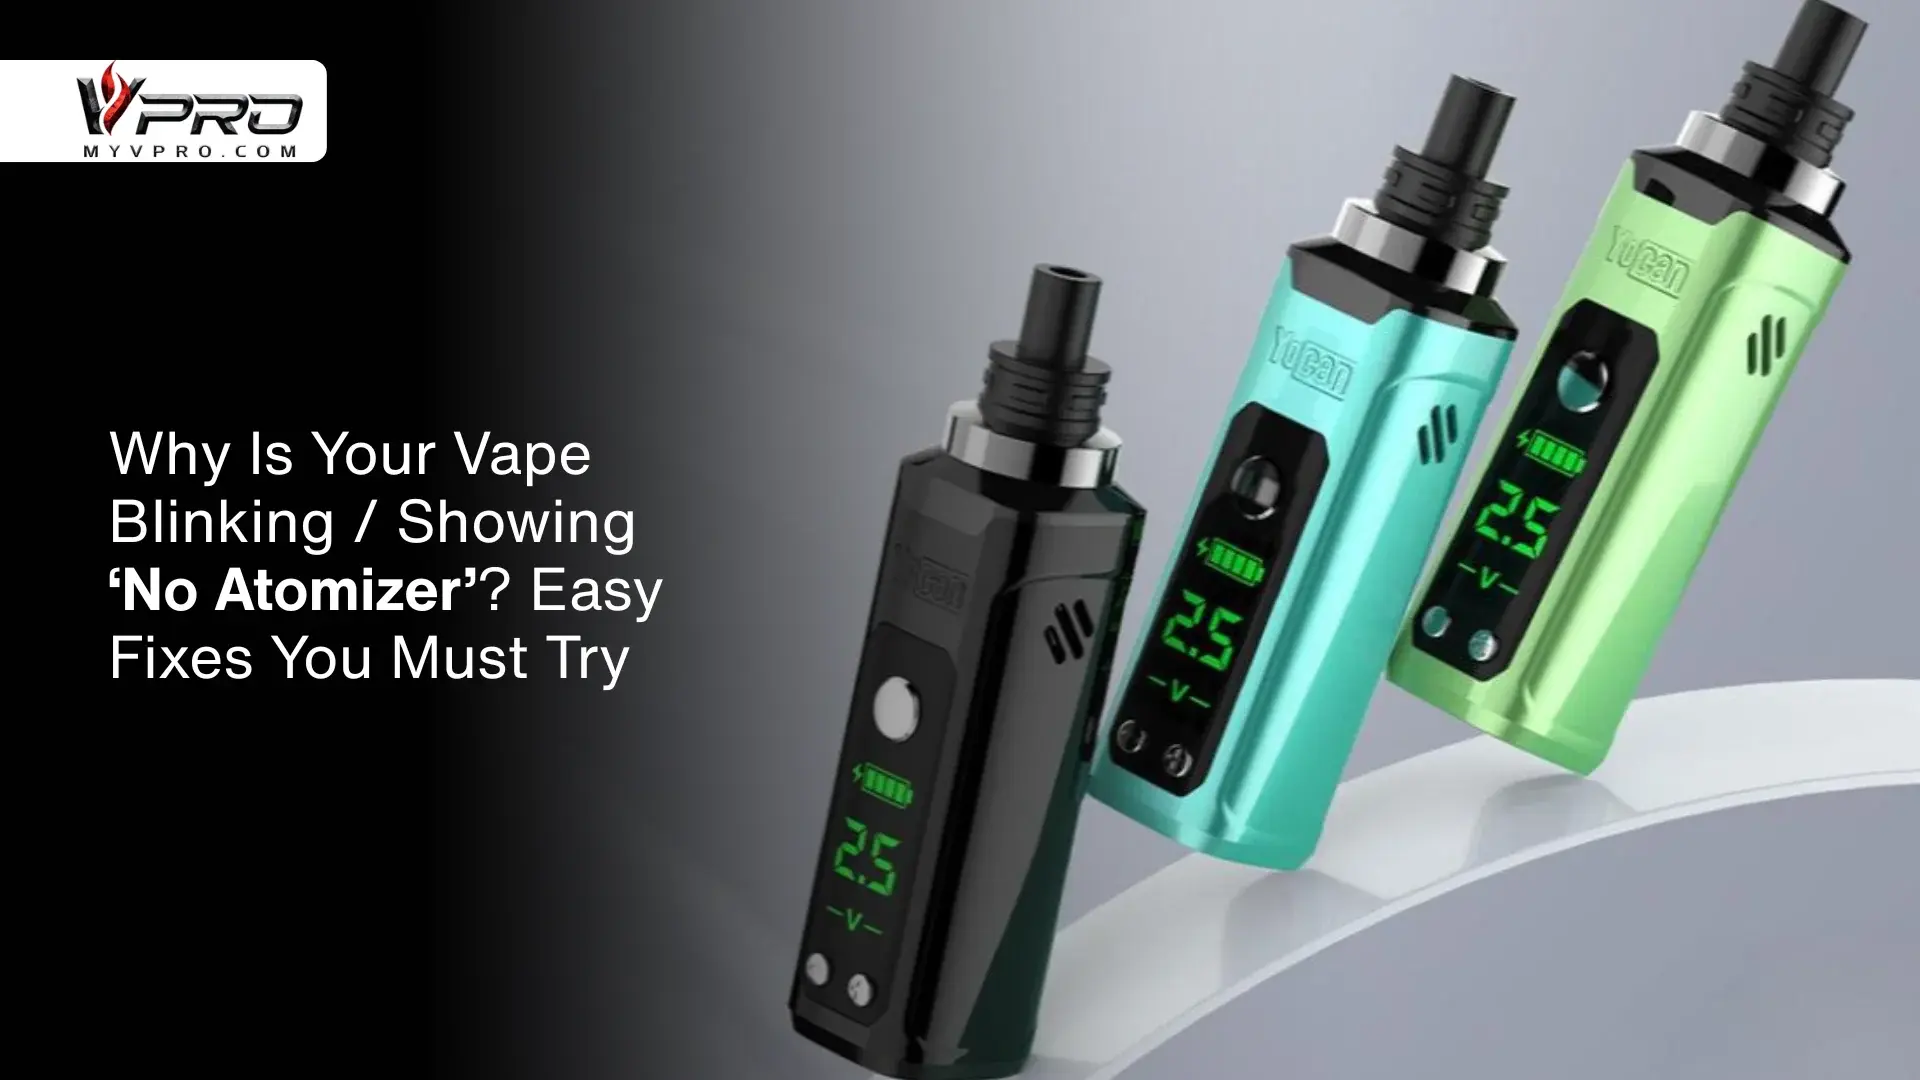
What Does “No Atomizer” Mean?
When your vape displays “no atomizer,” it means the battery cannot detect a connection to the heating coil. The coil or atomizer is the heart of your vape.
It warms the vapor liquid or vape concentrates, turning it into vapor.
If your vape doesn’t recognize the coil, you’ll get error alerts, blinking lights, or weak vapor production. Essentially, your device isn’t heating your liquid vapor anymore which stops vapor creation entirely.
Key Reasons Why Your Vape Is Blinking or Showing “No Atomizer”
Let’s look at what your vape is trying to tell you through that blinking pattern or error message.
1. Loose or Disconnecting Atomizer
The connection between your cartridge and mod can loosen due to repeated use or cross‑threading. This causes the battery to lose contact with the coil, triggering a “no atomizer” warning.
2. Dirty or Wet Threads
E‑liquid leaks or condensation on the contact pins can disrupt the electrical flow. Residue buildup is especially common in best refillable vaping devices where users refill frequently.
3. Coil Burnout or Incorrect Installation
A burnt‑out coil or improperly screwed‑in head is among the most frequent culprits. Coils that don’t sit flush inside the tank can confuse your system.
4. Battery Contact Issues
If dust, e‑liquid, or corrosion cover the battery contact, even high-quality rechargeable batteries won’t transmit power.
5. Short Circuits or Overheating Protection Mode
Modern vapes use chipsets that automatically disable firing to prevent damage. When your vape enters this mode, it often flashes rapidly or won’t fire.
Quick Fixes for a Blinking or “No Atomizer” Vape
Before assuming the worst, try these simple repair steps.
1. Check and Re‑Adjust the Coil

Remove your tank or pod. Unscrew the coil and wipe off any buildup. Then reinstall it, ensuring it sits square and snug. The coil should be in complete contact with the base.
For pod‑based devices or best disposable vapes, make sure the contacts under the pod are aligned properly not pushed down or bent.
2. Clean the Metal Connections
Condensed vapor liquid can accumulate over time. Use a cotton swab or dry paper towel to gently clean contact points. Never use excessive water.
This simple step can instantly restore electrical communication and stop the blinking light.
3. Reset or Reattach the Tank
Detach and reattach the tank firmly but gently. Avoid over‑tightening. Overtight screws can damage threads especially in box mod kits while under‑tightening can cause connection loss.
4. Try a New Coil
If adjustments don’t help, replace the coil. Most coils have limited lifespans, depending on your vaping frequency and type of liquid. Burnt coils or coils soaked in thick vapor liquid can misread as disconnected.
5. Test Another Tank or Atomizer
Attach your tank to another mod or vice versa. If your tank works fine on another battery, your mod is the issue. If it doesn’t fire anywhere, your coil or tank is faulty.
6. Inspect Battery Health
Low power or depleted rechargeable vape batteries may pulse rapidly before shutting down. Re‑charge the unit using the right vape chargers and inspect for button or LED malfunctions.
What Each Type of Blinking Light May Indicate?
|
Blink Pattern |
Cause |
Recommended Fix |
|
3 Blinks |
Short circuit |
Replace coil or battery |
|
5 Blinks |
Overheating / Protection mode |
Let device cool |
|
Continuous Blinking |
Connection lost |
Clean threads, tighten coil |
|
Rapid Blinking |
Low power |
Charge using compatible cable |
If you're using multi‑mode devices like a 3 in 1 vaporizer, note that certain color signals differ by mode (liquid, dry herb, or concentrate). Always check the user manual for your specific brand’s pattern key.
Troubleshooting “No Atomizer” in Different Vape Styles
1. For Disposable Vapes:
Blinking usually means the disposable vape is empty or has reached the end of its lifespan. Most single‑use units are not designed for coil reinstallation.
2. For Pod‑Based or Refillable Mods:
Inspect both the pod base and mod for blockages. Models featuring vape rechargeable battery setups often misfire when moisture builds up under connectors.
3. For Variable‑Wattage Mods:
If you’re using an advanced mod like geek vape mods or vape mod kits for beginners, lowering your wattage temporarily can help restart detection after coil changes.
4. For Multi‑Platform Vaporizers:
Devices meant for multiple materials such as vaporizers for smoking dry herb and concentrate might display atomizer errors if switched without cooling down between sessions. Ensure each chamber is cleaned and cooled before switching modes.
Learn more about optimal switching techniques in a detailed guide comparing dry and concentrate designs.
When It’s Actually Time to Replace Parts

Even after cleaning and reseating, some components don’t recover. Look for these signs:
• Persistent burnt taste even after coil change
• Leaks developing between glass and metal seals
• Unresponsive button systems despite full charge
• Continuous “no atomizer” message after all fixes
In these cases, replacing your vape accessories like coils, tanks, and cables ensures safety and consistency.
Preventative Care: Stop Atomizer Errors Before They Start
1. Regular Cleaning Routine
Weekly cleaning prevents residue caused by thick vapor liquid and extends coil life. Avoid over‑refilling tanks.
2. Proper Coil Priming
Before first use, soak your coil in liquid vapor for at least 5–10 minutes to prevent dry hits and detection errors.
3. Monitor Battery Threads
Wipe terminal points regularly if using external vape batteries. Dirty threads weaken connections over time.
4. Avoid Cross‑Threading
Cross‑threading occurs when you force the tank or pod at an angle, damaging your hardware. Always attach straight.
5. Don’t Overpower New Coils
High wattage on fresh coils in best concentrate vaporizer setups can instantly cause misfires. Start low and gradually increase.
The Importance of Proper Vape Storage
Your vape’s performance is highly dependent on environmental conditions. Moisture, dust, and extreme warmth can all lead to sensor misreadings.
Store in a case that shields against:
• Temperature fluctuations
• Direct sunlight
• Excessive humidity
If you use multiple systems like a multi use vaporizer or all in one vaporizer, keep each fully cleaned before storage.
Even dry herb particles from a best dry herb vaporizer can wrongly trigger “no atomizer” responses when mixed with e‑liquid residue.
For detailed insights into flavor preservation and coil longevity, checkout our blog on flavor selection discusses how proper e‑liquid choices reduce buildup and potential coil errors.
Comparing Coil Types and Detection Reliability
|
Coil Type |
Common Device |
Lifespan |
Detection Accuracy |
|
Mesh |
Best affordable dry herb vaporizer / Concentrate mods |
1–2 weeks |
Very stable |
|
Ceramic |
Best portable dry herb vaporizer |
2–4 weeks |
Consistent |
|
Cotton Wick |
Basic pods or starter vape kit |
1 week |
Moderate |
|
Hybrid |
AIO vape kit / aio kit setups |
2–3 weeks |
Excellent |
High‑grade ceramic and mesh coils deliver smoother vapor, quicker heating, and better atomizer connection stability especially in hybrid and AIO devices.
Best Practices to Extend Your Vape’s Lifespan

• Rotate between coils instead of overusing one.
• Charge your device with certified batteries for vapes or compatible power sources.
• Avoid running any disposable vape with no nicotine below full charge, as low voltage amplifies error rates.
• Regularly update mod firmware when applicable.
• Handle refills carefully to prevent seepage into connector pins.
Following these steps keeps your gear functioning longer and your sessions consistent.
Using Correct Power Settings for Different Materials
For hybrid devices suited to both e‑liquid and herbs using improper temperature settings can cause blockages or misreads.
Recommended average ranges:
• E‑liquids: 10–20 W
• Waxes/Concentrates: 20–35 W
• Herbs: 180°C–200°C
Overheating may trip safety locks and prompt blinking similar to low resistance errors.
FAQs
Q: Why is my vape blinking after charging?
A: It could indicate an incomplete connection or battery overload. Remove and reinstall your tank or pod and check for e‑liquid residue.
Q: Can “no atomizer” appear on disposables?
A: Typically no; disposable vape units are fully sealed. If they blink, it usually signals that the battery or e‑liquid has finished.
Q: What does “check atomizer” mean on mods?
A: Your mod isn’t detecting the coil. Remove the tank, clean contacts, and reconnect it snugly.
Q: Will changing coils fix blinking issues?
A: Yes, often. Burnt or faulty coils are common causes of blinking lights.
Q: Can moisture damage vape detection?
A: Yes. Keep devices dry, especially if you use refillable or hybrid vaporizers like all in one vape units.
Q: Are thick liquids harder to detect?
A: Yes. Thicker vape concentrates and dense VG‑heavy e‑liquids sometimes confuse detection sensors. Use proper wattage for balance.
Keep Your Vape Performing at Its Best
A blinking vape doesn’t always mean it's damaged; most “no atomizer” issues are quick fixes. With proper care, cleaning, and smart usage, your vape can perform reliably every time you fire it up.
If you ever need authentic atomizers, coils, and parts built for longevity, browse MyVPro featuring verified replacements and trusted upgrades to keep your device performing smoothly.
Every great vaping experience starts with understanding your gear and giving it the care it deserves.


